What is Deferred Rendering?
Deferred rendering is when rendering isn’t part of the first part of the animation pipeline, saving it instead for the very end. Think of post-production effects in movies added after filming.
Deferred rendering offers valuable opportunities for animators, as it can cut down the amount of needlessly complicated work by a significant amount.
Both deferred rendering and deferred shading are the same things.
Unity Deferred Rendering
Lighting is Key
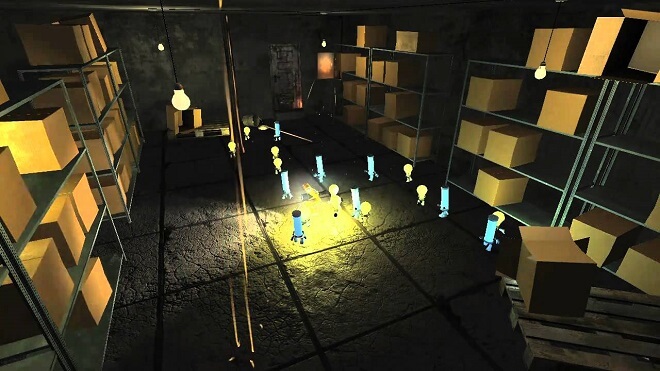
Lighting can be the determining factor in which rendering method is chosen. Lighting can take a long time with tons of different calculations.
It is divided into per-pixel and per-vertex lighting. As with standard rendering, per-pixel shading is the more limiting of the two. As its name implies, it renders pixel by pixel.
Per-vertex lighting renders by vertex, covering all of the shape’s area based on vertices. The upside to per-vertex lighting is that it can be significantly cheaper. However, you get what you pay for, and per-vertex lighting can come off as lower quality.
With per-pixel lighting, the lighting is rendered the same way, individually. This can take quite a while and could be a significant roadblock if not for deferred rendering.
This is Where Deferred Rendering Comes In
So how do you cut through all of the tedious and unnecessary lighting passes and individual rendering? As the name suggests, it defers rendering shadows and lighting until the very end of the process. Your game objects and other aspects will render as a 2D image.
Then simply add lights via deferred rendering. It becomes a more streamlined, more natural process.
Which One Should You Choose?
While this seems fantastic, some downsides could stop you in your tracks. Let’s take a closer look at what could potentially hold you up in terms of deferred rendering.
Downsides and Limitations
One substantial downside (that Unity can help with thankfully), is that deferred shading limits you from using semi-transparent objects in your project. Since they have transparency, it creates an awkward situation where other objects can’t cast a shadow on them. Unity will combine using forward rendering to remedy this to a degree.
There is also no anti-aliasing support, which can create less than ideal visuals for your game. Unfortunately, this time around, Unity doesn’t have a different workaround to help with this problem.
Requirements for Deferred Shading
The requirements for deferred shading are actually more specific than you might think. The possibility only exists with particular graphics cards. Thankfully, this is becoming less of a problem as computers and hardware advances at an accelerated rate.
Performance
This could be a big sticking point for mobile game developers. Since deferred rendering requires a final pass around in the pipeline, this can slow performance and bog your game down. Forward rendering, on the other hand, is much better in terms of performance.
Forward Rendering vs. Deferred Rendering
Modern Graphics Pipelines
In modern graphics pipelines, the process can be boiled down to this: you send various code, containing unique geometry, vertex, and fragments, to the video card. The video card recognizes the code and renders based on your commands.
Forward Rendering
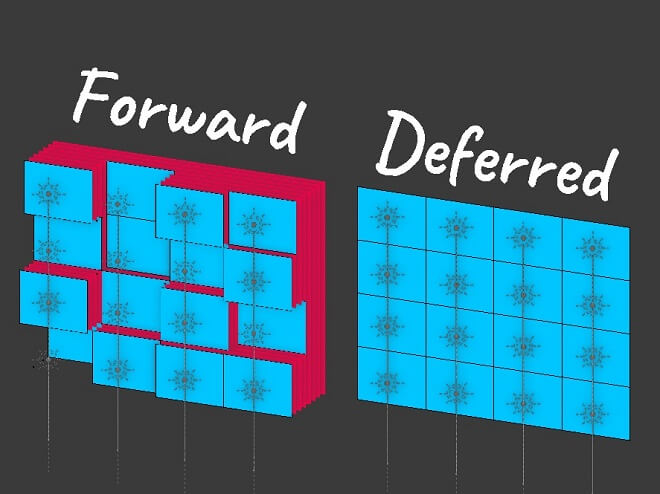
Forward rendering is the underlying rendering technique. This is basically the ‘default’ mode with different game engines. It’s a downward trickle: the rendering is carried out by first performing shading on vertices, fragments into pixels, and finally onto the screen. It’s a simple, tried, and true method that has delivered fantastic results.
Related: Cel Shading Essentials
Deferred Rendering
With deferred rendering, think of that downward motion: where the lighting would be added linearly to each and individual object, it’s compiled all to the end of the process and added in one swoop.
Which to Pick?
If you are scratching your head at which rendering method to use, it’s safe to say that deferred rendering has the overall better process. Its intuitive method of saving all of the backbreaking work of rendering for the end is a breath of fresh air.
While it can be a little tricky with performance issues and lack of anti-aliasing, it’s a reliable and smart option. However, Maintaining forward rendering is probably best if you have an older computer.
Rendering a Scene with Deferred Lighting
Review Important Concepts
These are vital things to keep in mind when you are rendering a scene. Let’s examine them a little more closely.
Traditional Deferred Lighting Renderer
This is split into two passes:
First pass: G-buffer rendering.
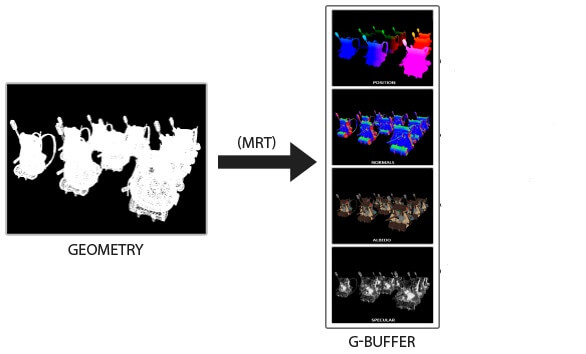
G-buffer stands for geometry buffer, and this is the pass in which objects themselves are rendered on screen. All the depth values, shadows, and shapes are made in this pass.
Second pass: Deferred lighting and composition.
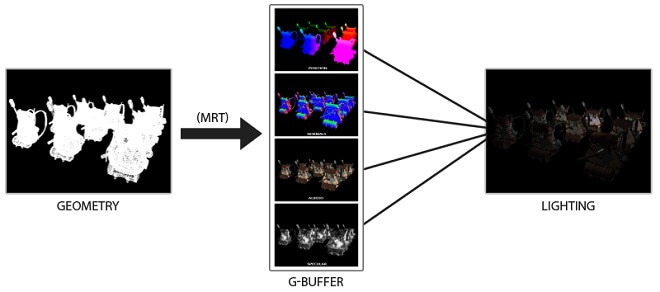
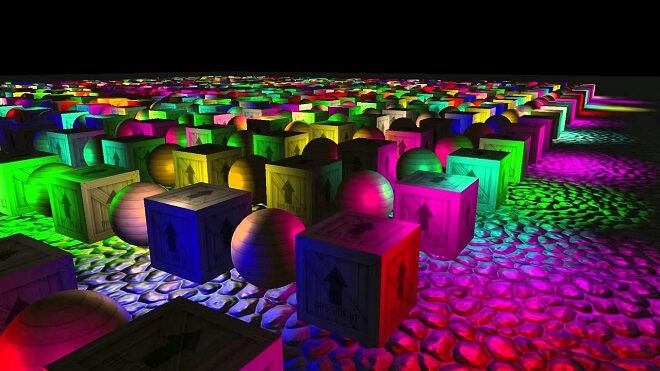
This is where the choice for deferred lighting comes in. The scene is populated with lights and lighting values and finally followed up with a general full-screen quad, filling in other tertiary data.


Leave a Reply